
Orbital Welding: Fusion Tube Welding
- George Ficken

- May 13, 2024
- 6 min read
Updated: May 15, 2024

We wanted to write a blog explaining the basic fundamentals of orbital fusion welding and how our orbital welding and cutting equipment makes a simple task out of tube welding. In this post we will cover topics like the origins of orbital welding, how closed-head orbital welding heads work, how orbital welding works for tubing, how to cut and prep tube for orbital welding, how to properly purge tubes for orbital welding and lastly an overview of the orbital welding process.
Let's get started with the origins of orbital welding. Orbital welding was started in the late 1950’s by aerospace engineers looking for a way to make consistent reliable high quality TIG welds on tubing. These were highly critical welds for fuel and hydraulic lines so they designed a system that could mechanize the TIG welding process by orbiting the tungsten electrode around the tube at a controlled speed. As the machines were developed CNC controls and more advanced weld head designs were created to more accurately control the amperage and tungsten electrode travel speed. We now have both closed and open TIG welding heads for fusion welding and we use a pulsed TIG welding process to precisely control the background and primary amps for differing materials and wall thicknesses to ensure perfect x-ray quality welds with full penetration. You can learn more about the differences between open and closed orbital welding heads here.

Most of the time, depending on the application we will recommend a closed orbital welding head for fusion TIG welding tubes. This is because the closed heads help reduce any probability that outside forces (such as wind, oxygen or dust particles) negatively impact the welds by encompassing the weld joint in a cassette-style casing. The closed head is purged full of argon (or sometimes a gas mixture depending on the material being welded) so that the tube is in a 100% argon environment, free of oxygen or debris that may affect weld quality. Closed orbital welding heads can be used in almost any position as their clamping jaws are fully self-supporting. This allows operators to make perfect welds even in very difficult to reach areas.

Our Axxair orbital welding product line has an excellent lineup of small and even micro closed orbital welding heads to accommodate 1/4" and larger tubing. By ensuring an oxygen and debris-free environment you can make it very unlikely that any oxidation, sugaring or excessive discoloration will occur in your welds.
So how does orbital welding work for tubing? Simply put, orbital welding is going to mechanize the pulsed TIG welding process and use CNC controls to save and repeat weld schedules ad infimum. The major benefit to orbital fusion welding for tubing is that you are able to lock-in a perfect weld schedule and repeat that same weld over and over again. Since it is CNC controlled, mechanized and the weld is encased in the closed head the variables that could lead to a poor weld are drastically reduced. In addition, the water-cooled heads provide a 100% duty cycle for most welding applications meaning you can run this machine all day and night and still make perfect welds. The weld head works by rigidly
clamping around the OD of the tubes to be welded. The operator will line up the weld head when clamping such that the tungsten electrode is in the center of the butt joint. The operator will need to make sure that they are purging the inside of the tube, which we cover in detail in this article. Once clamped and purged, the operator will press a button on the weld head or remote pendant to signal the power supply to begin the welding process.

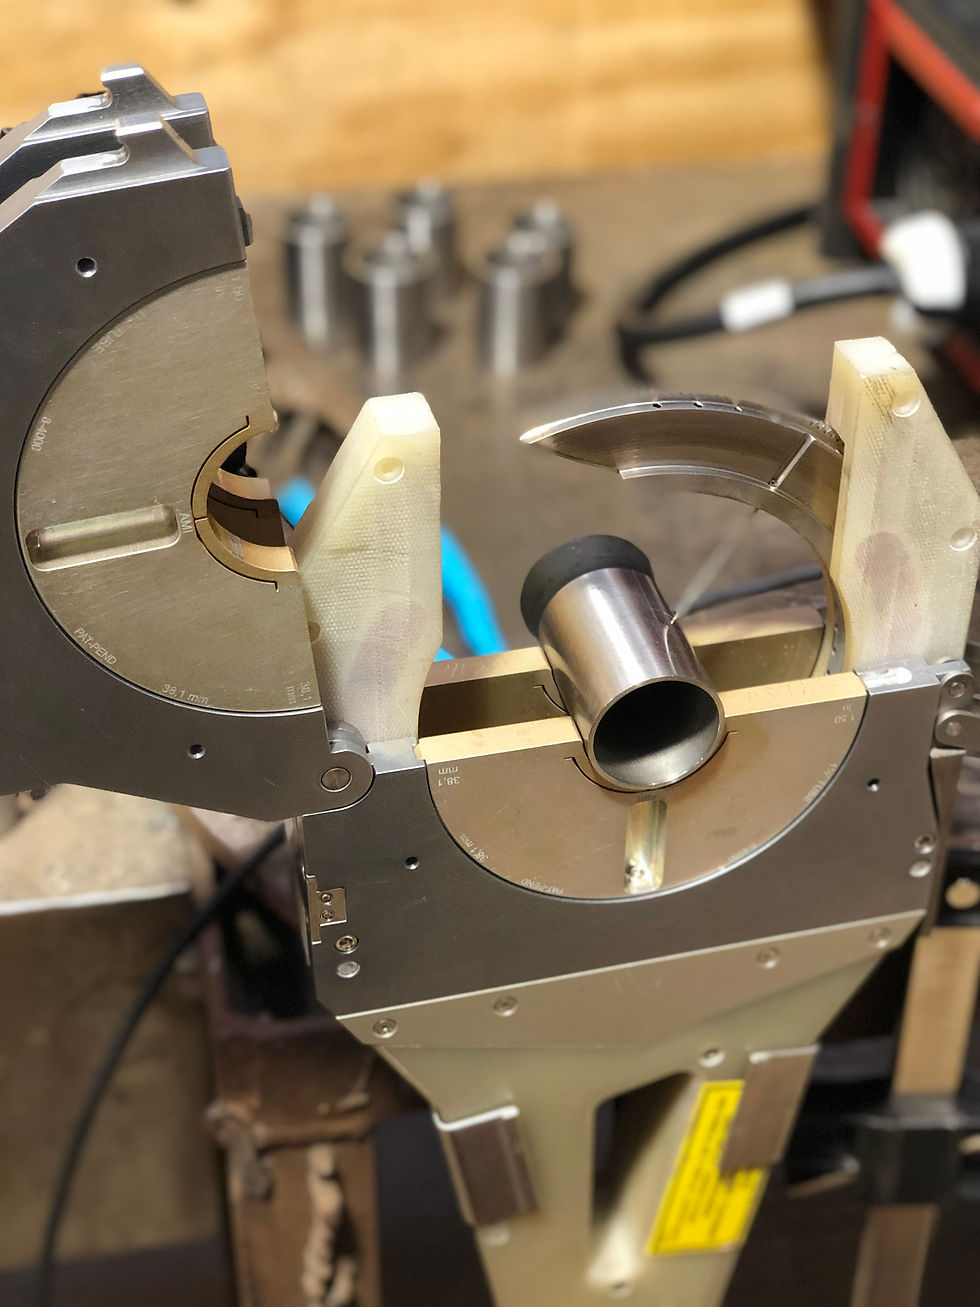
Now let's discuss how to cut and prepare tubing to be orbitally welded. It is super important to note that since the orbital welding machine will be executing the exact same weld parameters on every weld, we need to do our best to ensure that the weld preparation and fit-up are nearly the exact same for every weld. If there are differences from weld joint to weld joint, the machine will not know this and the same weld schedule that worked on one joint may not work on another if there are significant differences in the fit-up. We want to create a cutting and facing process that will reduce the likelihood of there being any gaps in our fit-up or any debris that could ruin an otherwise good weld. In order to create this perfect fit-up there are special tools that we recommend to go along with the orbital welding machine. Namely, we recommend an extremely accurate cutting saw and implementing a facing tool to reduce any saw blade marks or burrs before fitting up the tubes for welding. The Axxair cutting saws are our favorite on the market because of their concentric clamping jaws and the fact that they rotate the blade around the tube. The concentric clamping jaws eliminate the chance that you will deform the tube when fixturing it, which would cause problems when you go to fit-up the tube to be welded and create gaps. Then by rating the blade around the tube, the saw reduces the tool pressure and eliminates any blade deflection that could cause a cut to be un-square which would also cause gaps when you go to fit-up the tube. We also recommend using a facing tool to "clean up" the butt of the tube, this ensures that there are no blade marks or burr marks that could cause fit up issues.

Next, let's talk about how to purge the tubes properly for orbital welding. There are a few methods for purging, in general the goal here is to create a steady flow of argon (or gas mixture) throughout the ID of the tubes so that there is no oxygen in the tubes. A strong steady purge will also help combat the gravitational pull on the weld puddle at the top of the tube; without the purge pressure helping support the weld puddle you can end up with a sunken weld which can negatively impact the integrity of the weld. We recommend using purge kits to help reduce any variables that can impact the weld. Tape can work just fine too albeit a little slower than a purge kit and the welder may accidently leave a hole that is too large in the tape and reduce the purge pressure too much. Our purge kits work in sync with the orbital welding power supply to ensure the proper flow of gas is going through the tubes before the arc is struck. You can also get an oxygen meter on your purge kit if you want to really ensure that you have no oxygen in the tubes that could affect your welds.
Now that we have covered some of the basics, let's wrap it up with an overview of the orbital welding process. You want to begin with a saw that cuts cleanly and squarely. You then want to follow that up with a facing tool to ensure that the tubes are square and the butt up surface is clean. Next you clamp the closed orbital welding head around the tube joint, splitting the tungsten electrode in half with the weld seam. Once the weld head is in place, you will want to go ahead and purge the inside of the tubing with argon (or whatever gas mixture you require). You will then enter the tube OD, material and wall thickness on the orbital welding power supply (or select from a previously saved welding schedule) and the machine will auto-generate a weld schedule (many times the auto generated weld schedule will work on the first try but for some materials and wall thicknesses you may need to adjust the speed and heat until you make a weld you like then save it). You then press start on the machine and the machine will purge the tube and weld head for you for a pre-determined period of time. The machine will then strike an arc and perform a pulsed TIG fusion weld 360 degrees around the weld joint. Now you can remove the weld head and move on to the next weld. You can also take a wire brush to the weld if you want to remove any discoloration from the weld.
If you are interested in learning more about orbital welding please reach out to GSI Machinery with local inventory of parts and service out of Houston we are ready to exceed your orbital welding needs!


